In cloudflare, under Websites page, click on + Add a domain.
Don't worry, we are not buying a second domain. We just want to 'register' the domain we have bought from Namecheap earlier.
Under Enter an existing domain, type in the domain you've purchased earlier.
Click "Continue"

(click image to enlarge)
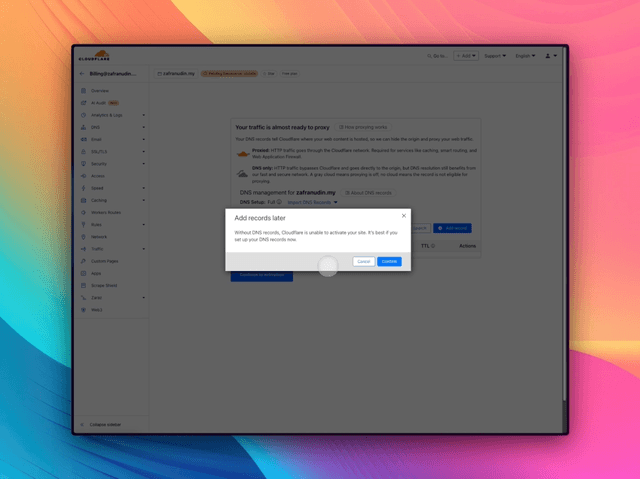
It will prompt that there's no DNS Record yet, and that is fine.
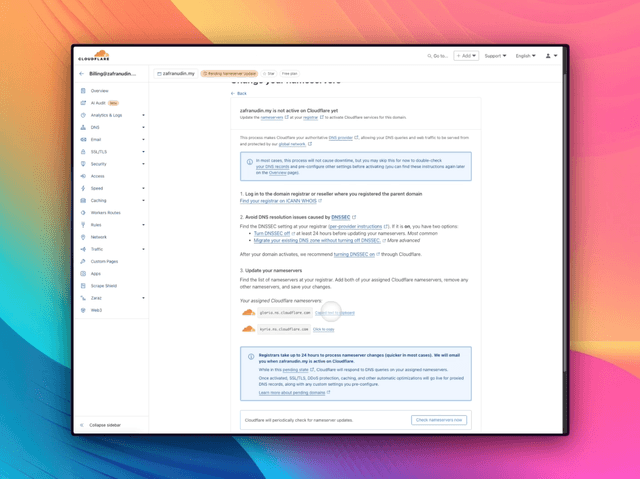
What we need for now, is the "Nameserver".

(click image to enlarge)
In my case, these are my Cloudflare's nameserver.
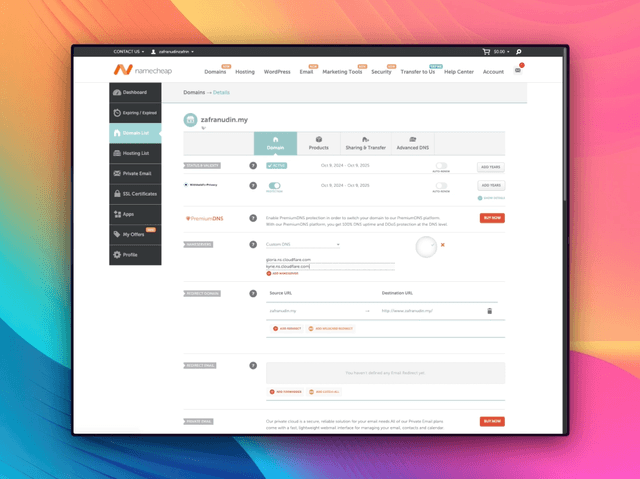
Copy both, and paste it into Namecheap. It should be under "Nameservers" > Choose "Customer DNS" in the dropdown.
Be sure to click the Green Checkbox to save!

(click image to enlarge)
Once you've saved this in Namecheap, we can now close Namecheap. That's the last we will need it.
From now, all of DNS entry will be via Cloudflare, and Cloudflare will be responsible for it.
Finally, let's inform Cloudflare to actively check if the nameserver change is successful or not. Simply click the "Check Nameserver" button.

(click image to enlarge)
This will take some time, from few minutes to several hours. Most of the time, it should take less than an hour. You will receive an email from Cloudflare once they have noticed the nameserver change.
Careful
You will need to copy exactly both nameservers from Cloudflare into Namecheap. Otherwise you will be locked out of your own domain, which is not what we want at all.